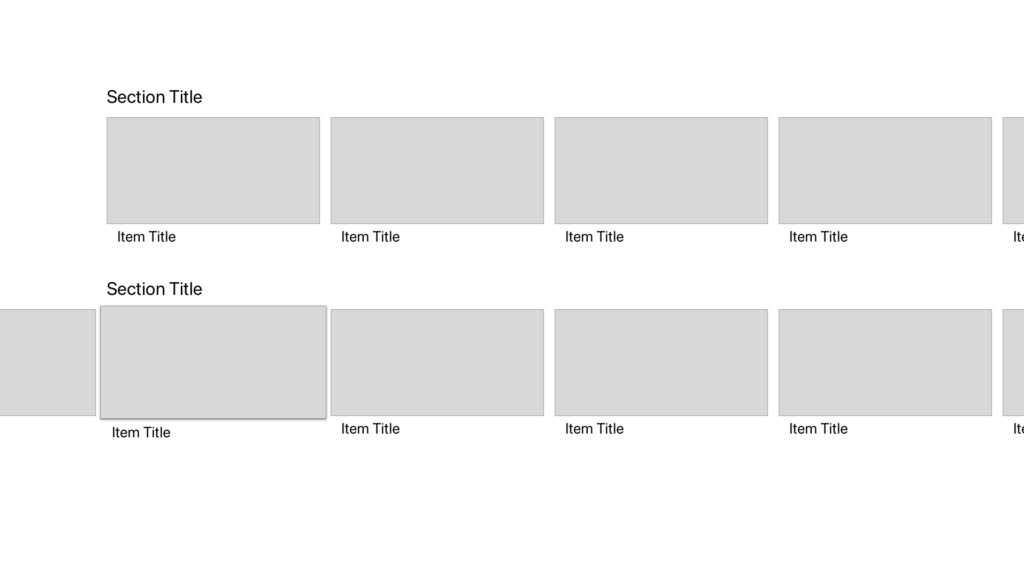
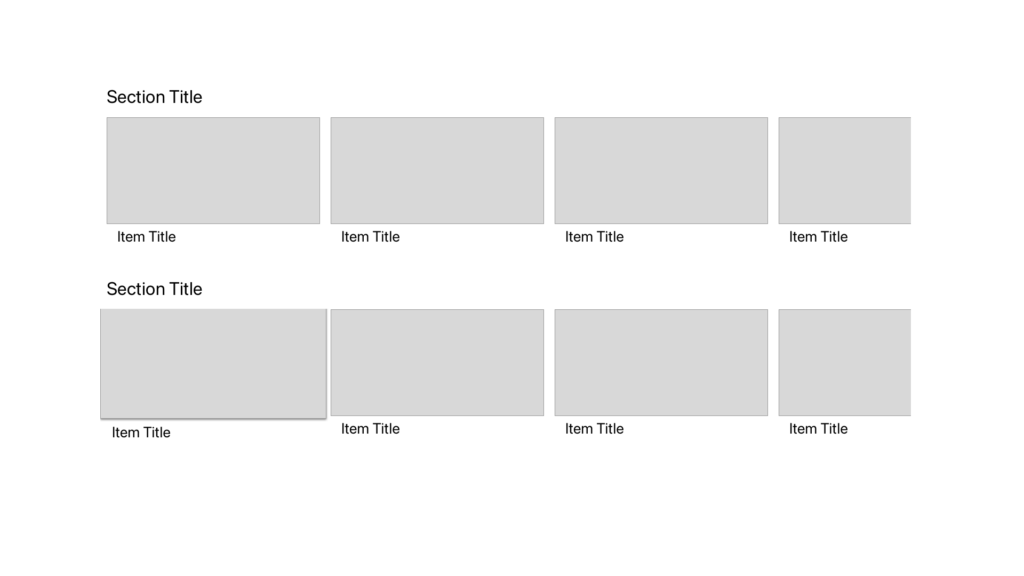
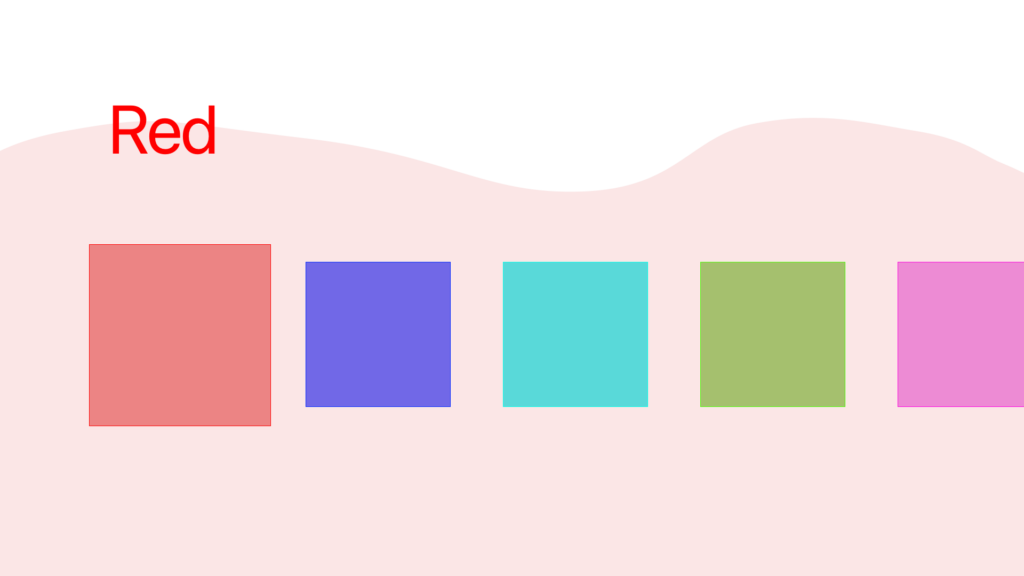
Alright, let’s set the scene with a mildly contrived example: you’ve got a list of things, and you want the surrounding View to match them. For a tvOS app, this could be swapping out the background and some title text to match the selected episode; since I don’t feel like coming up with some fake episode titles, however, we’re going to go with colors:
At first thought, you’d probably reach for @State, something akin to:
struct ColorsView: View {
	@State var selectedColor: Color
	let colors: [Color]

	var body: some View {
		VStack {
			Text(colorName(selectedColor))
			HStack {
				ForEach(colors) { color in
					Rectangle().fill(color).focusable()
				}
			}
		}
			.background(WaveyShape().fill(selectedColor)
	}
}
Not too bad; attach on onFocus to the Rectangle() and it should work!
But… what if there’s more layers in between? Instead of a Rectangle(), you’ve got some other View in there, maybe doing some other logic and stuff.
Oof, now we’re going to need a @Binding, and – oh, what happens if the user swipes out of the rectangles and to our nav bar, can selectedColor be nil?
Happily, SwiftUI has something built out to handle basically this exact scenario: @FocusedValue. There’s some great tutorials out there on how to do this for a macOS app, which allows you to wire up the menu bar to respond to your selection, but it works just as well on tvOS.
Let’s get started:
struct FocusedColorKey: FocusedValueKey {
	typealias Value = Color
}

extension FocusedValues {
	var color: FocusedColorKey.Value? {
		get { self[FocusedColorKey.self] }
		set { self[FocusedSeriesKey.self] = newValue }
	}
}
Now we’ve got our new FocusedValue available, so let’s use it:
struct ColorsView: View {
	@FocusedValue(\.color) var selectedColor: Color?

	var body: some View {
		VStack {
			Text(colorName(selectedColor ?? Color.clear))
			HStack {
				ForEach(colors) {
					ColorRectangleView(color: $0)
				}
			}
		}
			.background(WaveyShape().fill(selectedColor ?? Color.clear)
	}
}
The one big change here is that selectedColor can be nil. I’ve gone ahead and defaulted to .clear, but do what fits your use case.
Finally, we need to set the focused item:
struct ColorRectangleView: View {
	let color: Color

	var body: some View {
		Rectangle()
			.fill(color)
			.focusable()
			.focusedValue(\.color, color)
		}
	}
}
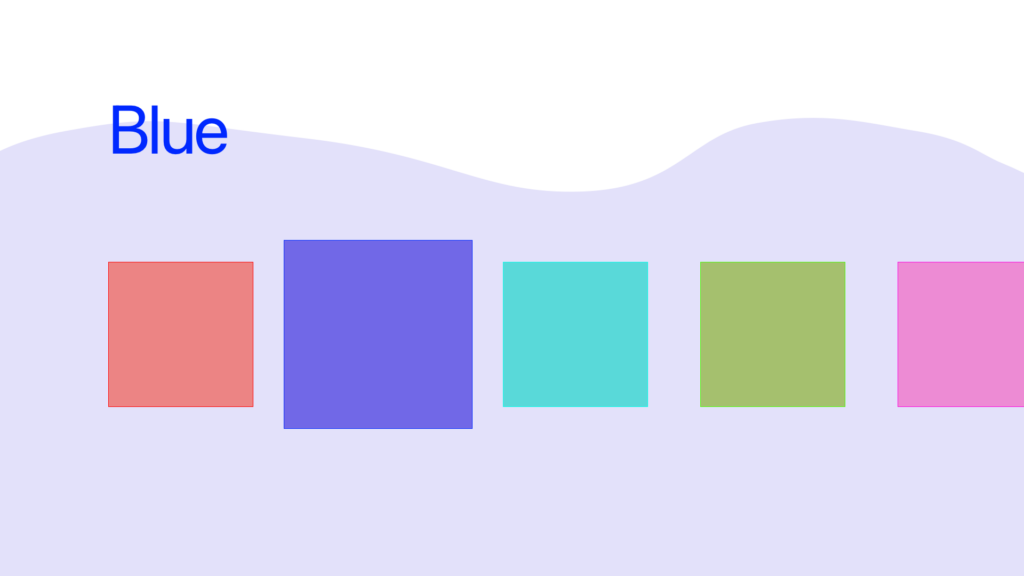
Et voila, it works!
Now, this may not seem like a huge change over doing it via @Binding, but keep in mind: @FocusedValue is a singleton. You can have every view in your app respond to this, without passing @Bindings every which way.